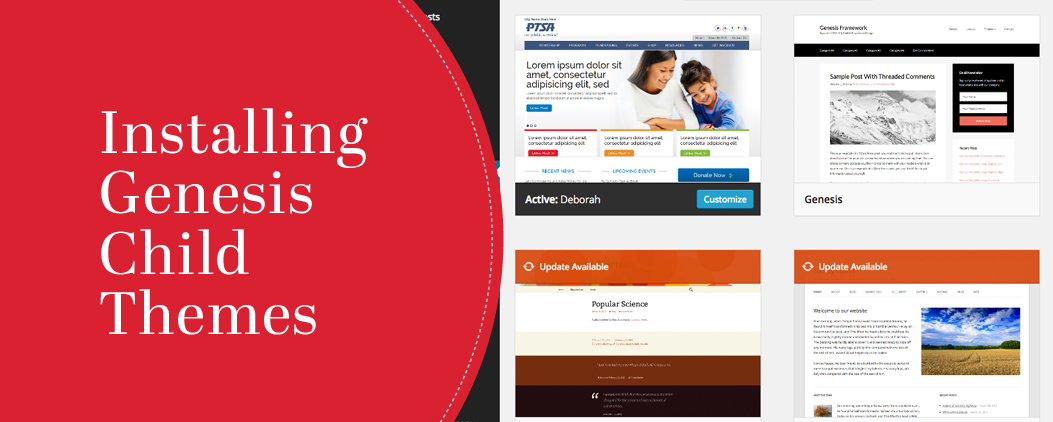
We sell a lot of Genesis child themes and many times these themes are sold to people who have never used WordPress before, let alone the Genesis framework.
They’re dentists and lawyers and other people who don’t sit and build websites every day. Because of this, many people are a little intimidated by the idea of installing the Genesis framework and a child theme.
Here’s the good new – it is really easy. Even if you’ve never installed a WordPress theme.
A Recap on Frameworks
In the most simplistic terms, a “framework” is a term used to describe a highly functional “parent” theme. Think of it like the bones of a human body or the foundation of a house. It contains the core features that allows for great functionality like HTML5, schema, sidebars, columns, nested comments, and author boxes.
The “child” theme is something that overlays on the parent theme. The child is commonly referred to as the skin. I also link of it as the clothes worn on a human body or the wallpaper and paint within a house. The child theme (or skin) creates the look and feel visible to the user.
For a child theme to operate, it needs to have the parent available. A house can’t stand without it’s foundation and clothes have to have bones to hang on or they’ll fall to the ground.
Because of this dependency, you install the parent theme first and then follow that up by installing the child theme. The child will see the parent and connect itself to it.
Installing the Genesis Framework and Child Theme
There are multiple ways to manage the installation process, but we’re going the easy route. This means we are going to skip FTP. Don’t know what FTP is? Don’t worry. You don’t have to and you can forget you’ve even heard the term.
Now remember – installing a Genesis child theme is very similar to installing any other WordPress theme. The core difference is the need both the parent them and the child theme to be uploaded and stored within your WordPress theme directory.
Step One – Install the Genesis Framework (aka Parent Theme)
- Enter your WordPress dashboard
- Navigate to Appearance -> Themes
- Click on the Add New button towards the top of the screen
- Click on the Upload Theme button towards the top of the screen
- Click on the Choose File button
- Select the Genesis zip file from your local computer
- Click on the Install Now button
- Then click Activate
Step Two – Install the Genesis Child Theme (aka Deborah, Patricia, etc.)
- Enter your WordPress dashboard
- Navigate to Appearance -> Themes
- Click on the Add New button towards the top of the screen
- Click on the Upload Theme button towards the top of the screen
- Click on the Choose File button
- Select the child theme zip file from your local computer
- Click on the Install Now button
- Then click Activate
Did you notice that the process was the same? It is, which makes it really easy to install both files.
There is Only One Tricky Part
There is really only one catcha that you need to worry about when installing the Genesis framework and a child theme. If you install the child theme before the Genesis parent theme everything goes crazy. You can’t just install the parent theme (after the child theme) and hope all will be well. It won’t.
If you made this mistake, just take a moment and breath. Delete out both the child theme and the Genesis parent theme and start over again. Just make sure you do it in the right order this time around.
Thank you so much for this easy, simple article which cleared up all the confusion I had with parent and child theme’s and installing them. 🙂
Muito bom o artigo!
Gosto de visitar seu blog Rebecca, pois sempre tem uma novidade para compartilhar.